Action Figure Customizing Guide: Getting Started Part 1
 Hey everyone! Thanks for stopping by. I’ve been wanting to get my own set of tutorials up ever since I stumbled upon the ones that helped me get started in this hobby. Years ago I got some of the best advice and instruction from some of the best customizers in the biz and I wanted to return the karma by lending my own 2 cents to those that may need a little help. Heck! I still need it from time to time myself.
This tutorial is the first in a series that will, with any luck, get you to your own custom action figure! I call this one “Getting Started”, and I’m basically just going to go through all of the materials, tools, and set ups that you will need to get your own custom action figure studio in effect! Each sub-topic in BOLD has a link to this stuff on Ebay and Amazon to get you started, but don’t be afraid to scour the internet for cheaper stuff. Oh, and don’t be alarmed if Uncle Puck shows up from time to time. He wanted to help out with this tutorial.
 THE FODDER. Fodder is simply the pieces and bits that your custom figure will be made from. This includes everything from bodies, arms, legs, heads, feet, hands, and accessories like guns, knives, and belts. Sure, there are some guys out there that can just sculpt something out of nothing, but for those of us that need a base to start from, there’s fodder. First decide what scale or size figure you would like to work with. The most popular is the Marvel Legends or DC Universe 6″ scale, made by Hasbro and Mattel, respectively. There are lots of other toy manufacturers out there like NECA and Figuarts, but ML’s and DCUC are the easiest to work with (as you will see in future tutorials). Here you can see that I have amassed way too many figure parts than I should have. But no matter how much fodder you have, keep it organized, clean, and stored properly. I got some sliding drawer bins from BBAB, use the coupons! Speaking of coupons, your fodder isn’t cheap. Sometimes you need to just buy that one figure for that one right hand, and you’ll pay through the nose. Other times you might stumble upon a great auction on Ebay for a bunch of figures and parts. Also, don’t forget the scour the Cons. It’s too much fun!
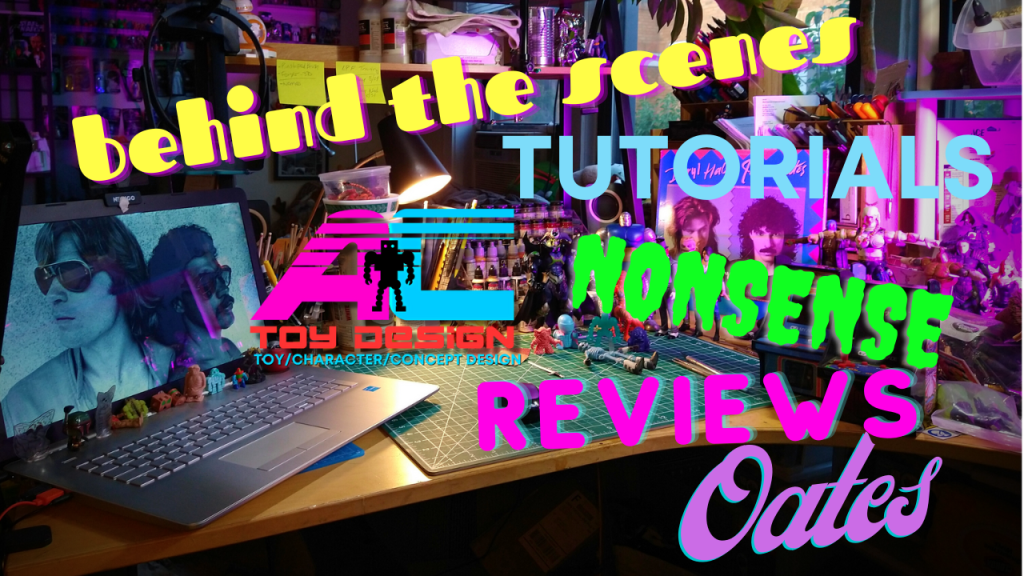
 WORK STATION. Mine continues to grow. It started out as a table in my
  apartment, and now it’s basically an entire room! But all you really need is a flat work surface with ample light. If you have the space and want to work spread out you can separate your work space from your photo table from your fodder bins. I will go into the photo lab set up in another tutorial. Right now lets just focus on something to work on and store your supplies on. The link above is for these cool little work stations that I just found tonight. I’m going to get some!
 PAINTS. If nothing else, even without any of the more advanced tools, you can do a nice figure repaint. Some of the figures that come out of the factory look great, others look like the paints were put on by my dog. When it comes to paints you want to stick mainly to acrylic model style paints. They tend to chip and rub far less than enamel. There are many companies to choose from. My favorite is Testors Model Masters. Many swear by Tamiya a, or Citadel, but I found that they sometimes stick to the brush and peel before drying, and leave a sticky feel even days later. Stick to the quarter to half oz. jars. These usually run around $3-4 per jar. Whatever you use, pick an array of colors, and don’t forget that if you can’t find the color you want…MIX!
 BRUSHES. There are many brush kits that you can get that have a mix of different sizes, and some even come with paints. Try them! It’s a good way to sample a lot of different brushes at a cheap price. I prefer to go to Michael’s and pick out specific brushes that I need for a job, but I do own and use everything from a small painter’s brush to a tiny needle nose brush. These can run you anywhere from $1-12 per brush, and it’s a good idea to buy somewhat nice brushes because they will last longer. Keep your brushes clean by constantly rinsing them in a cup of water while painting, and then with soap and warm water when finished. Also, be prepared for your brush heads to separate and become less streamlined over time. You will replace a good brush every month or 2.
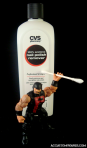 ACETONE: Acetone, or nail polish remover, is some volatile stuff! Be careful when working with it. It can soften and melt SOME plastics, take all the paint off of a surface, and really mess you up if it gets in your orifices! Wear some GOGGLES and maybe even a FACE MASK. A large container of your average generic drugstore brand will go a long way, and make sure to grab some Q-tips or paper towels to apply it with.
So that’s it for Part 1 of my Action Figure Customizing Guide: Getting Started! I hope it helped. Be sure to check out Getting Started Part 2 for the rest of this tutorial. Also, if you have any further questions or comments please feel free to email me at accustomfigures at hotmail dot com.
See you in the future!
AC
Posted on November 22, 2013, in Uncategorized and tagged ac custom figures, how to customize action figures, toys, tutorials. Bookmark the permalink. Comments Off on Action Figure Customizing Guide: Getting Started Part 1.